I still have the first MacBook Pro I ever bought, a mid-2010 model with a Core 2 Duo processor. It has features that even the modern MacBooks don’t, like a fantastic keyboard, a very cool sub-surface sleep indication light, MagSafe power, and an array of ports that just work without a $50 USB-C dongle.
Of the two upgrades I made to it years ago, moving from 4 to 8GB of RAM definitely helped, but the SSD is what’s kept it usable, even ten years later.
What’s an SSD, and why would I want one?
Simply put, they’re really fast. They’re also much more resistant to shock, which is great for laptops, as well as quieter and cooler than a rotational hard drive. (For a deep dive, check out this ExtremeTech article.)
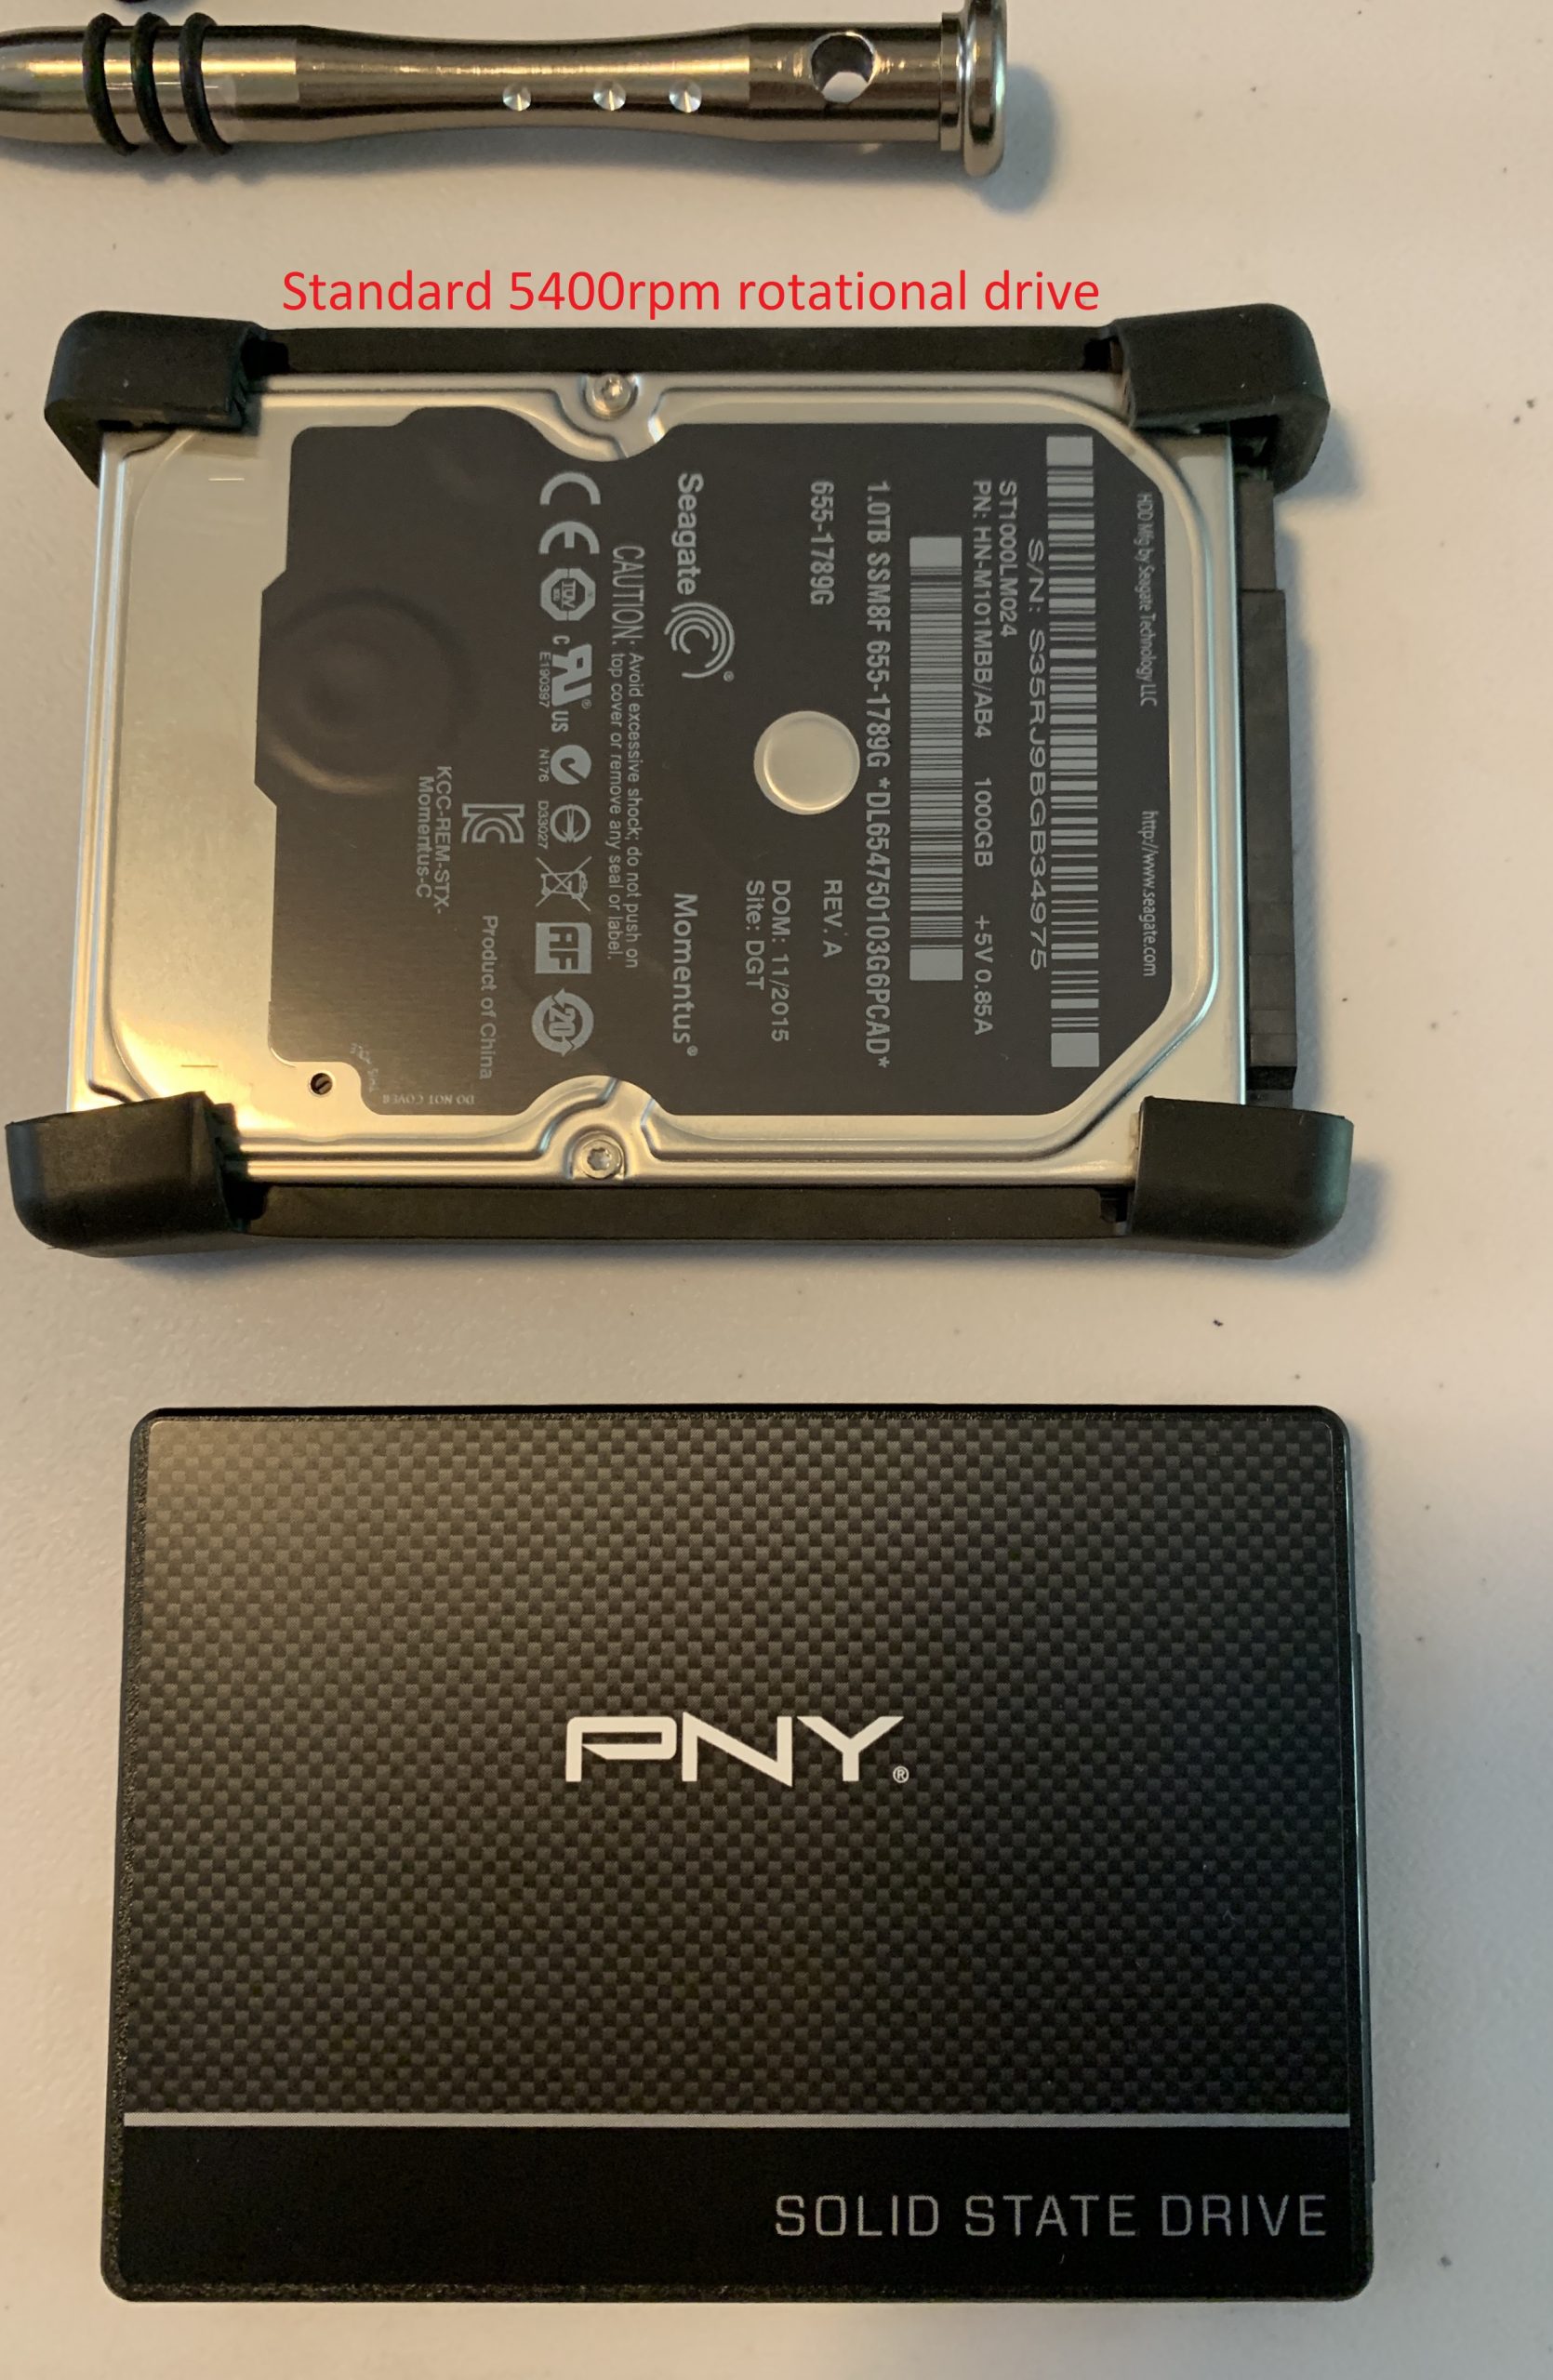
Old platter-based hard drives spun like a record on a record player, with a “needle” (access head) that reads and writes the data. The faster the spin, the faster the drive. Many hard drives were 5400 rpm, some were 7200, and performance drives got up to 10, 12, and even 15,000 rpm (with the corresponding increase in noise and power).
SSDs are a completely different type of technology. No spinning platter, and no head – every area of the disk can be accessed quickly, though writing is still slower than reading. On average an everyday typical SSD will have read speeds four times faster than a performance hard drive. This speeds up everyday computing and substantially reduces boot and wake from sleep times.
Not so long ago, you’d pay two to three times more to upgrade to a lower capacity SSD. Today, a 1 TB internal drive sells for under $90, less than a dollar per gigabyte. At those prices, and for the benefits they bring, it’s crazy not to have one.
Saving my Mom’s iMac with a $25 SSD
My mom had mentioned a few times that her late-2015 iMac was running slow. I assumed it might be one of her online games running poorly, or an internet issue. When I sat down to do some backups, I realized it was the system itself that was slow. That doesn’t make a lot of sense for a machine that still has a fairly recent processor with 8 GB of RAM, and is used for web surfing in a single tab.
After poking around and running activity monitor during normal tasks, I didn’t see any glaring issues and knew the weakest link in the system was the hard drive. In an iMac, however, that presents a problem: none of it is made to be upgraded. In addition to needing special Torx bits, which I already have, you can’t even access the internals without removing the entire glass screen from the housing, which you also need a special tool to do (or a thin guitar pick) and carries the risk of breaking it.
I decided to replace the hard drive anyway. I chose an inexpensive 240GB PNY SSD for only $25 on Amazon. I also ordered a 21.5″ repair kit from Amazon that included the “pizza wheel” cutter to remove the display foam and the replacement adhesives that are cut to an exact fit, that kit cost another $10.
I’m not going to run through all of the details, because there are plenty of guides to this process on iFixit and YouTube already. I do have a full video of the process start to finish; if you’re interested, let me know in the comments. Otherwise, I want to just highlight a few tips that weren’t fully covered elsewhere.
Tip 1: Clone your drive first
I like Super Duper, I’ve used it for years. I actually couldn’t get the existing drive to clone, because it had some data corruption that First Aid (in Disk Utility) couldn’t fix. I sent my log to support and got two email responses – the first one within an hour, and on the weekend. Did I mention this program is free? Pretty amazing. In the end I was able to mount the old drive externally, put a clean OS install on the new drive, and used Migration Assistant to pull in files and applications. It was waayyy more work, so if you can, clone your drive first! It makes recovery much easier.
Tip 2: Have the right tools
Even with the pizza wheel cutter, it takes a while to cut through all the adhesive to free the display, I ran it back and forth a lot of times. Once it does start to separate, you can lift it up and see well enough to cut through the stragglers. A suction cup helped, but I could have done without one by prying with guitar picks all the way around.
Tip 3: No temperature sensor issues on this particular model
Some of the iMacs have a “HDD temp” sensor that either requires jumping two pins together to bypass, or buying a $40+ cable from OWC. If you don’t, the iMac system fans will spin up to 100% and stay there. Thankfully, this model doesn’t have that, so I didn’t need to do anything.
Tip 4: Take your time with the hard drive connector
See this connector?
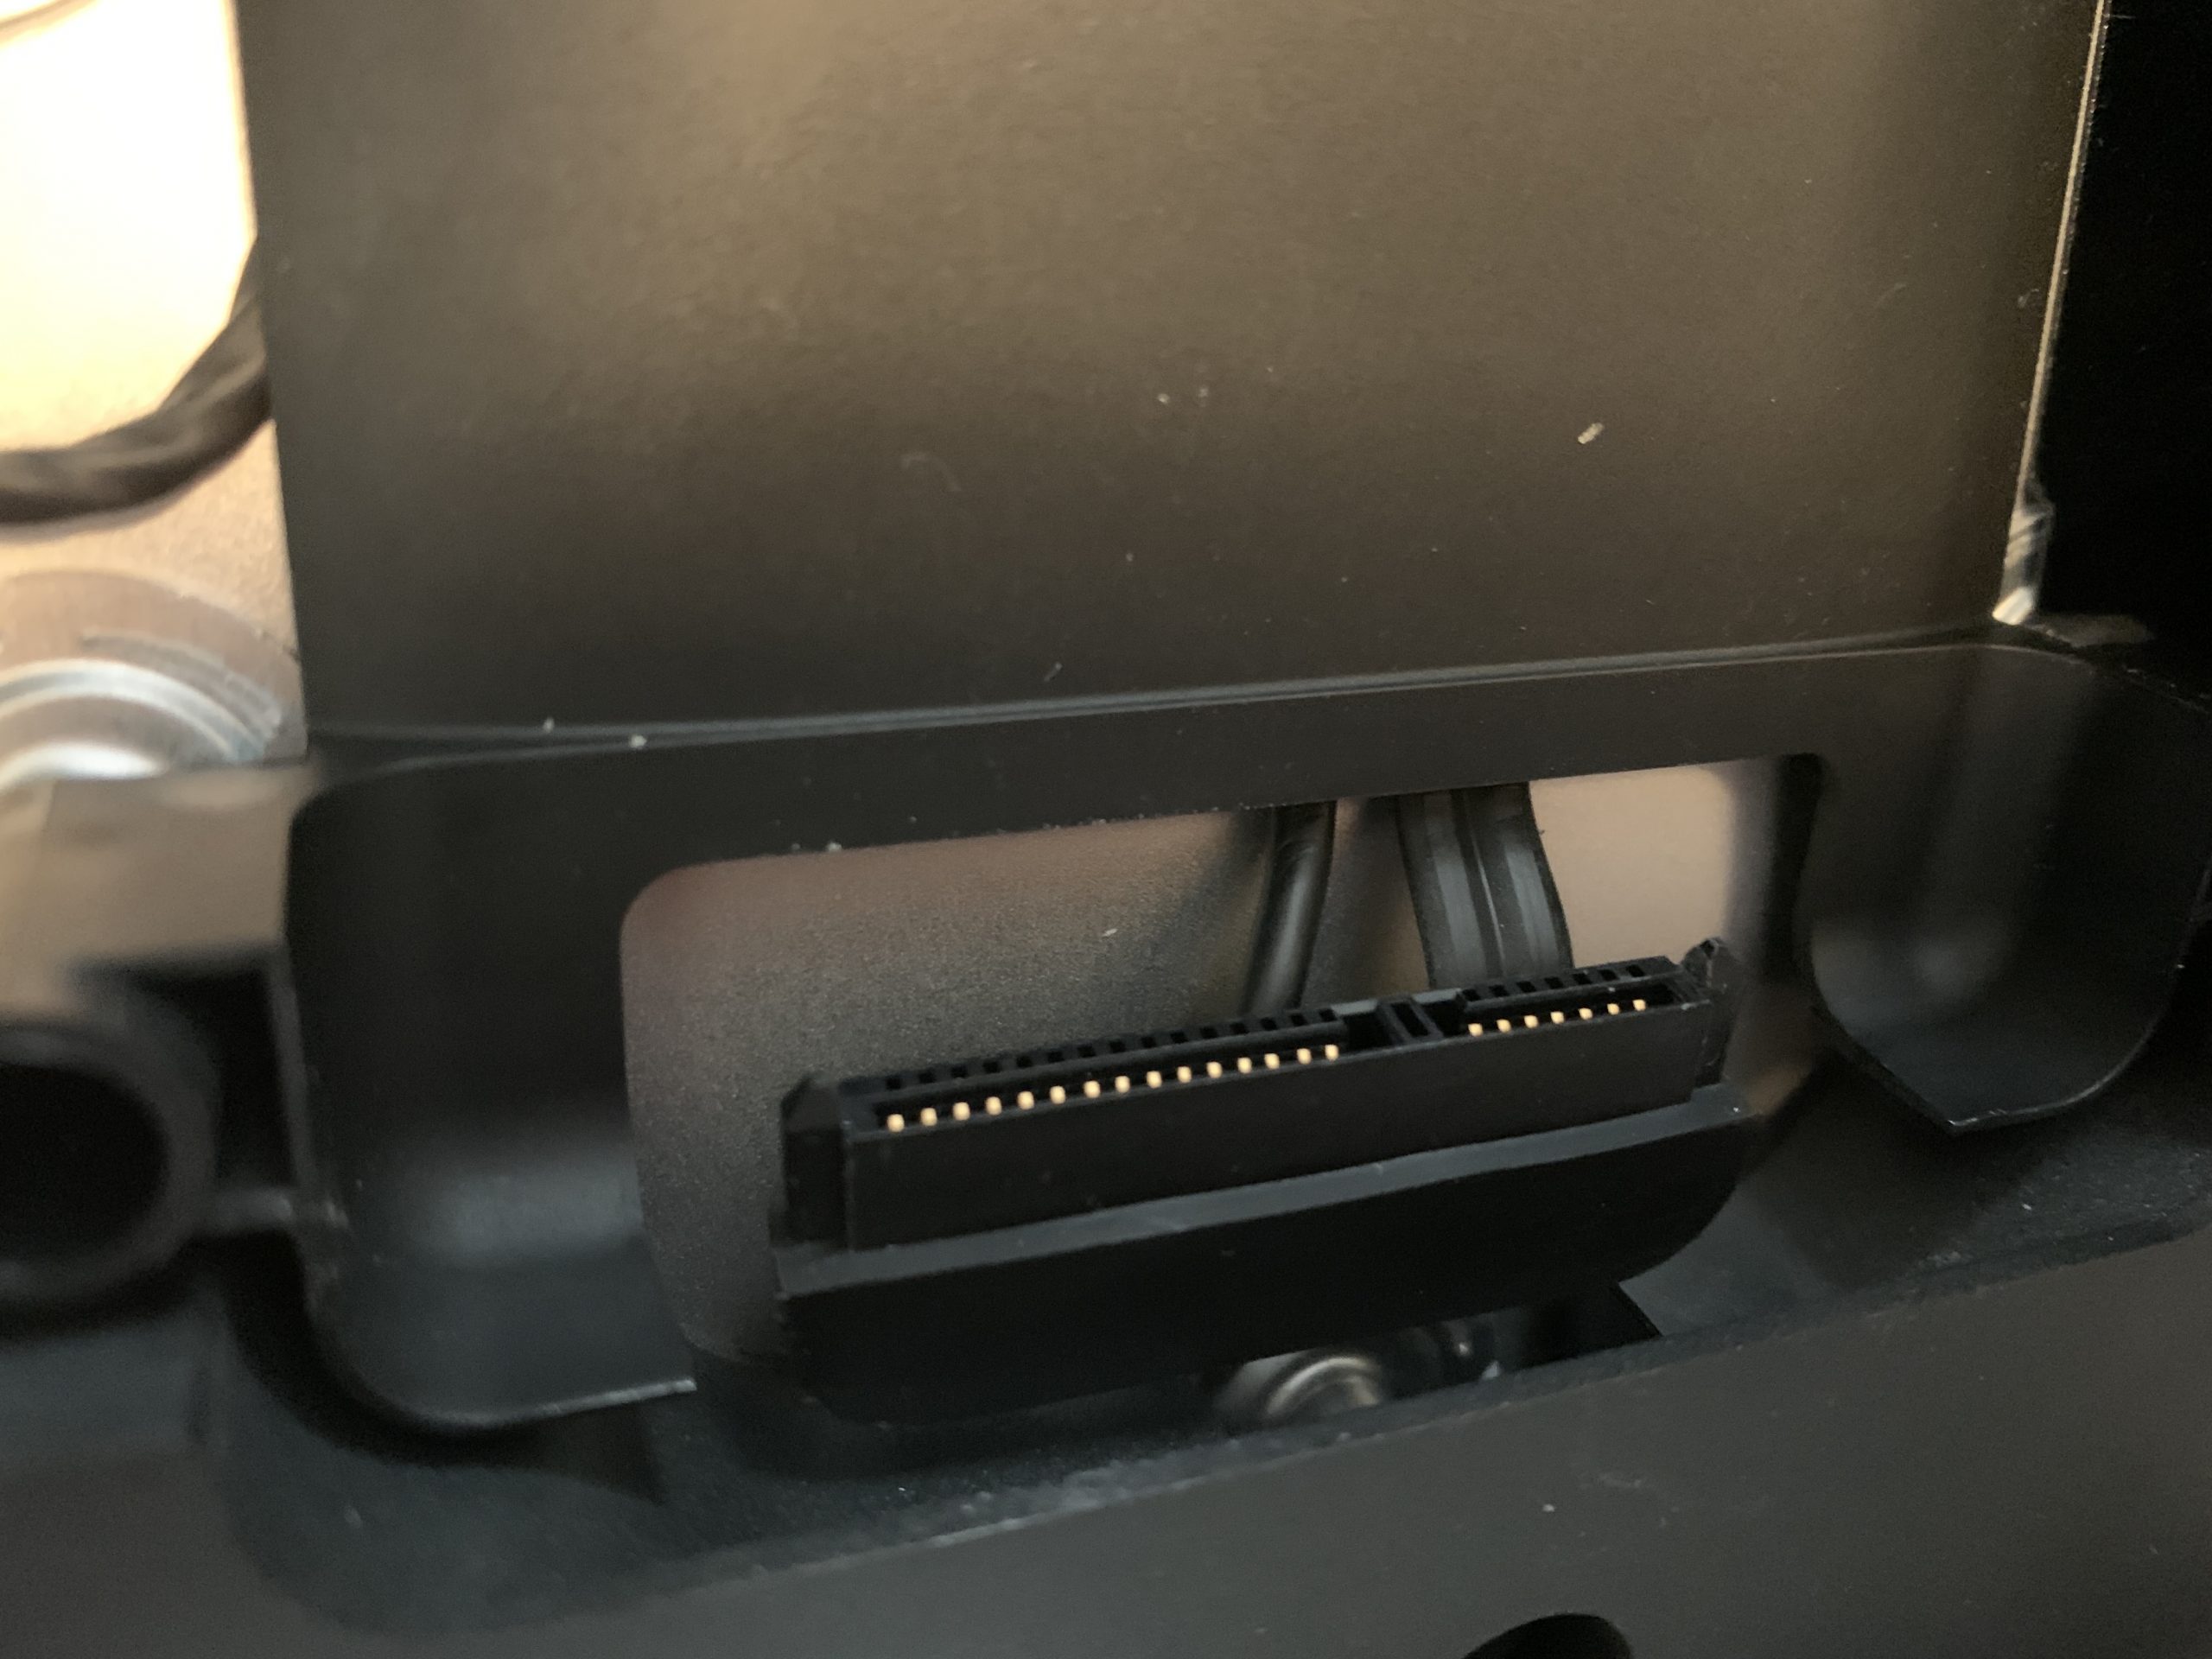
It’s the SATA hard drive connector in the iMac, and it was the bane of my existence. It took me longer to plug this in than it did to disassemble the entire iMac and put it back together again. The iFixit guide completely glosses over this fact and skips to the end.
Why is it so hard? Because there’s only about a half inch of service loop; i.e., extra cable, to work with. So you can’t pull it out far enough to plug the drive in outside the system, and if you put the drive inside, it hits the plastic bumpers in the back and the connector pushes away where you can’t get at it to pull it forward.
Take your time on this part, and don’t put the rubber bumpers on the drive until it’s plugged in so you have more room to manipulate it. It may also be possible to use double sided tape to stick the bottom of the drive down really well and then try to pull the connector forward until it mates.
Tip 5: DON’T connect the adhesive until you’re done, and don’t use all of them
The aftermarket adhesive kits are not as easy to remove as the stock foam, and there are many reports of people damaging their systems trying to get them apart again because they forgot to plug in the LCD cable when they closed it up. I opted to leave the bottom foam attached, and temporarily scotch taped the display together at the edges while I powered it up and installed all software. Only after everything was working did I peel off the top layer of adhesive to push the display back together, and even then, I decided to use only the top two pieces. They’re so strong it’s more than enough to hold the system together, and if I need to get into it in the future, I can hopefully run the cutter up from the sides and work it apart.
Back to normal
The SSD upgrade worked great, the system is very responsive and boots up much faster than it did. Given the corruption issue on the old drive, I’m even more glad we took action when we did to prevent any catastrophic data loss that might have happened.
The moral of the story is, SSDs are so fast and so cheap, if you don’t have one in your computer, either laptop or desktop, you really should consider one. It can breathe a whole new life into your hardware.